
AutoSave is available when a file is saved to Microsoft OneDrive or SharePoint in Microsoft 365, but you need to save or open the file from within Excel, PowerPoint or Word to switch it on. You also need an active Microsoft 365 subscription.
Switch AutoSave on
To turn AutoSave on, save your file to your OneDrive or SharePoint folder from within your Office app.
- Go to File then Save As.
- Select your
 OneDrive personal, work or school account.
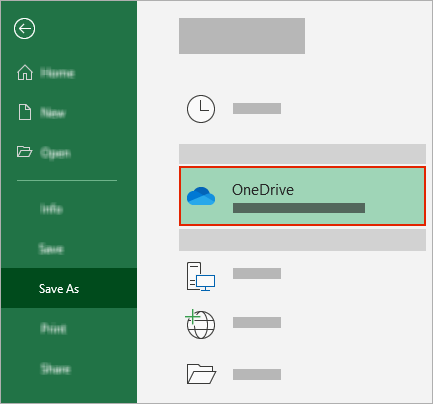
- Choose your sub-folder from the list that appears.
- Enter a file name and select Save.
Tips:
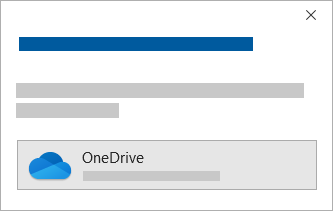
- If you don’t see your OneDrive in the list, select Sign in. If you don’t see your family, work or school OneDrive listed, select Add a Place. Learn more about how to add OneDrive as a service.
- Selecting an existing file will enable AutoSave for that file.
- If you don’t see your OneDrive
Enable AutoSave when you open a file
To ensure AutoSave is on as soon as you start editing, open your file by navigating to your OneDrive or SharePoint folder from within your Office app.
- Go to File then Open.
- Select your OneDrive personal, work or school account.
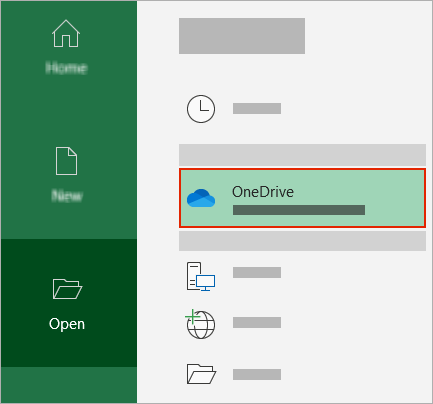
- Choose your sub-folder location from the list that appears.
- Select a file to open it.
Tips:
- If you don’t see your OneDrive in the list, select Sign in. If you don’t see your family, work or school OneDrive listed, select Add a Place. Learn more about how to add OneDrive as a service.
- Once opened, you don’t need to keep saving your file – every change is saved automatically.
- If you don’t see your OneDrive
What to do if you see a “Just upload the file” prompt
If you select the AutoSave toggle and see a prompt which says, “Just upload the file”, it could be because you have Office File collaboration turned off. To turn it on, follow these steps
- Select the OneDrive cloud icon from the taskbar or menu bar.
- Select More > Settings > Office
- Check the Use Office applications to sync… box
- Select the AutoSave toggle again.
If it’s already turned on, you have two choices:
- To keep working on the original file, select the X to close the window. Then follow the steps above To switch AutoSave on.
- To create a copy of your file, don’t close the Save window. Select OneDrive from the list of locations and enter a name for the copy.